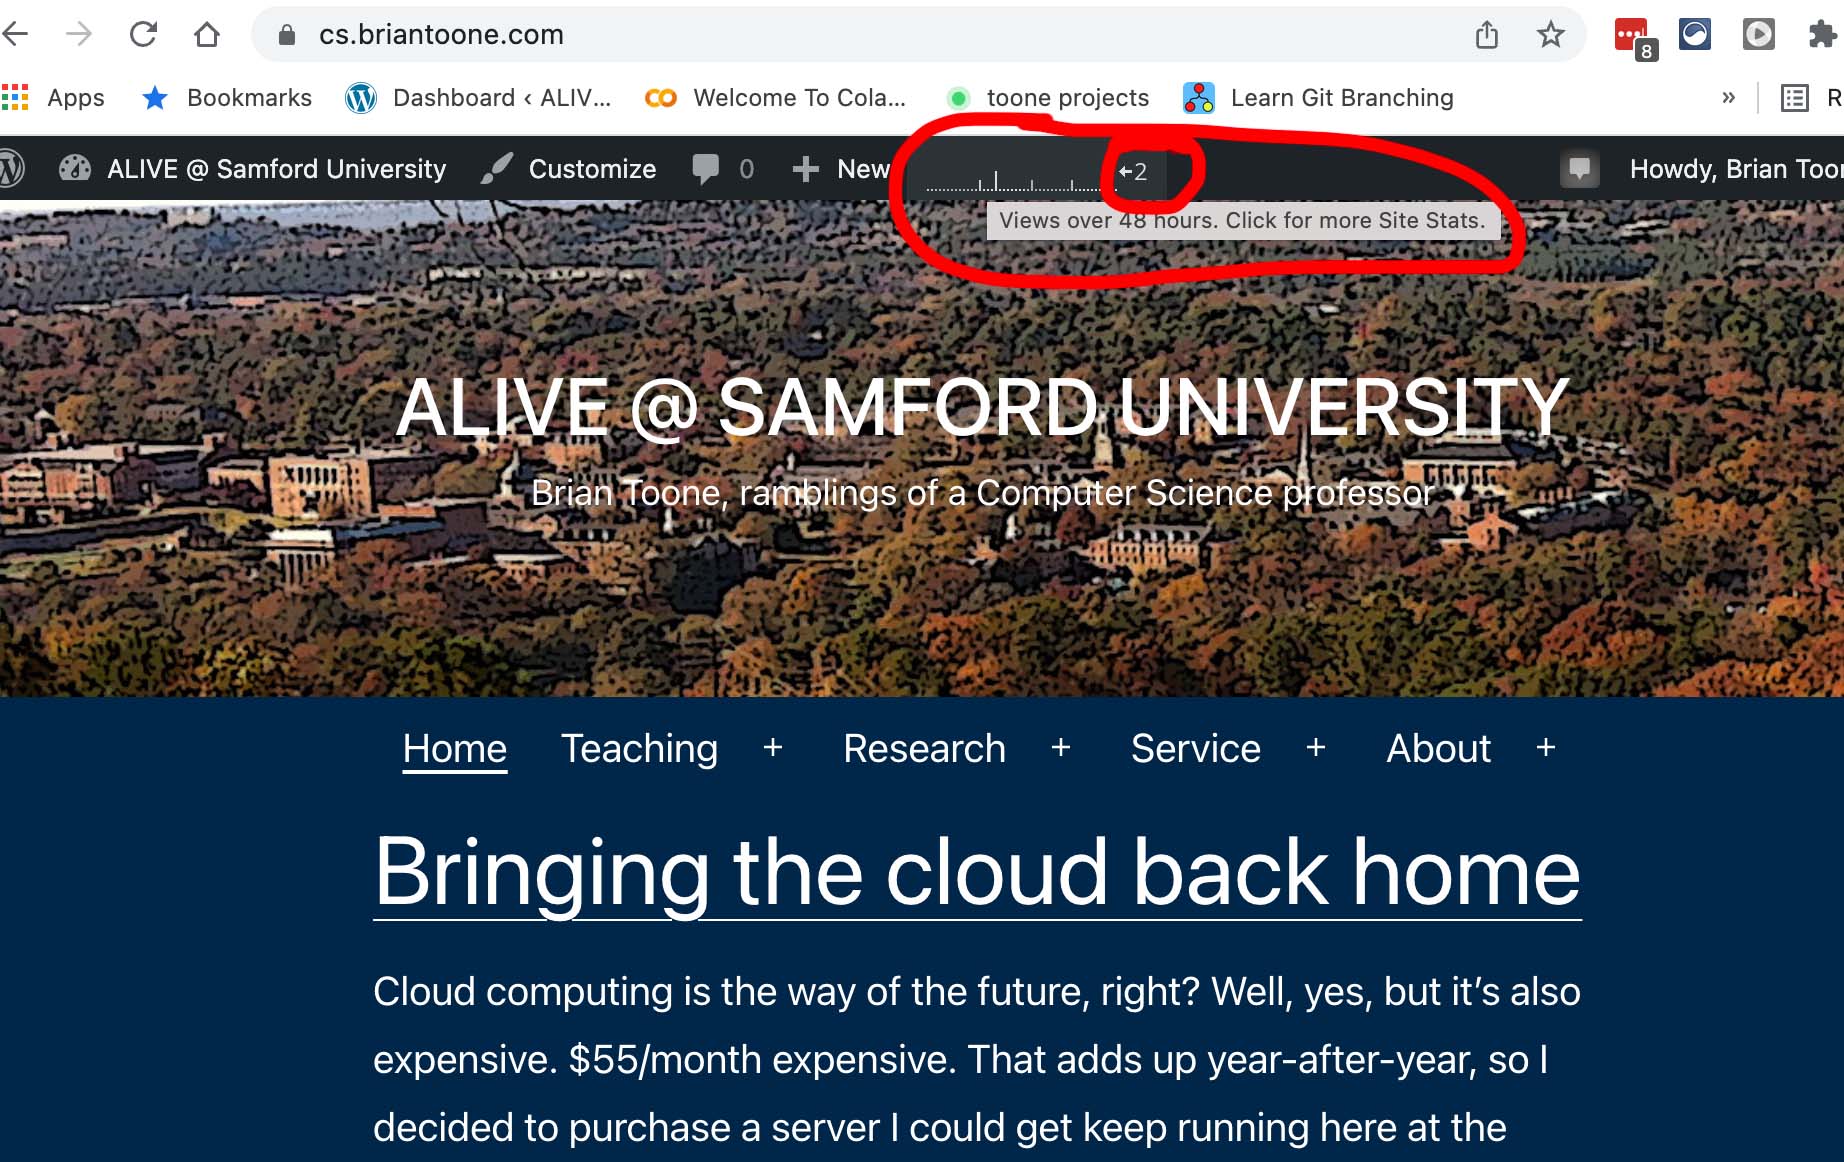
Not sure how many people read these posts … actually, wordpress blogs do keep track of your visitor stats … here’s a quick peak.

In light of that, this post is mainly for myself to remember a few networking related tasks and commands:
- Invoke an HTTPS request from bash/terminal
- Clarify the difference between ssh -L and ssh-R
- Log-in to a remote screen sharing enabled mac using VNC
HTTPS via bash/terminal
Here are some useful commands I found for interacting with an SSL encrypted website (HTTPS) via a terminal/shell given the disappearance of the unencrypted web: [link1] [link2]
First, the old school way of doing it: netcat. Since the HTTP protocol is pretty straight-forward plain ASCII text that you can formulate by simply typing into a live network connection. You can use netcat (nc on a mac) to establish a connection to an unencrypted website fairly easily as shown in the screenshot below:
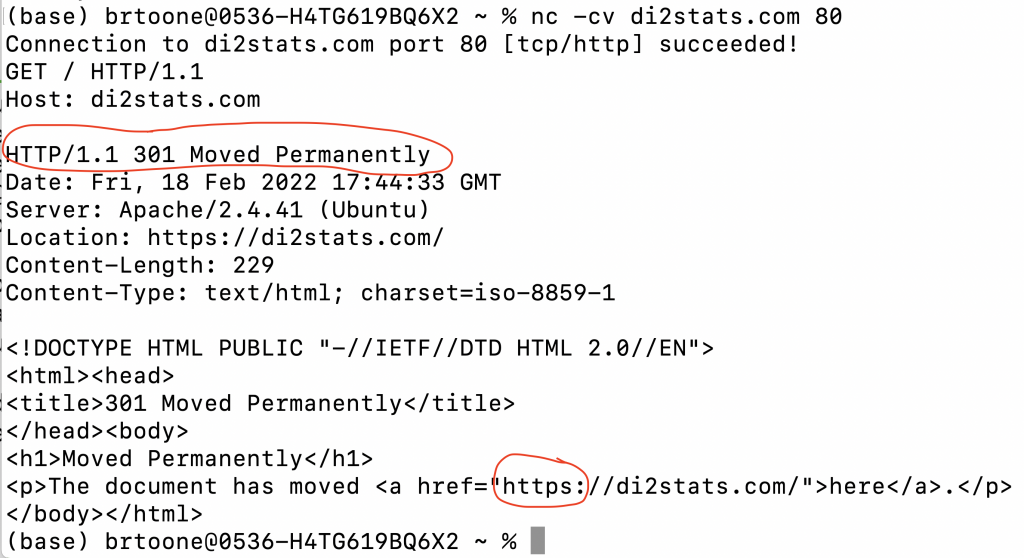
The problem is the 301 redirect permanently response. I have my web server configured to ONLY serve the encrypted version of the website. All unencrypted requests get this 301 redirect to the secure version of the website. So what can you do? Well I don’t think there is anyone in the world who can manually type in the SSL key exchange messages and then manually type in the encoded HTTPS request encrypted with the negotiated shared key without the request timing out.
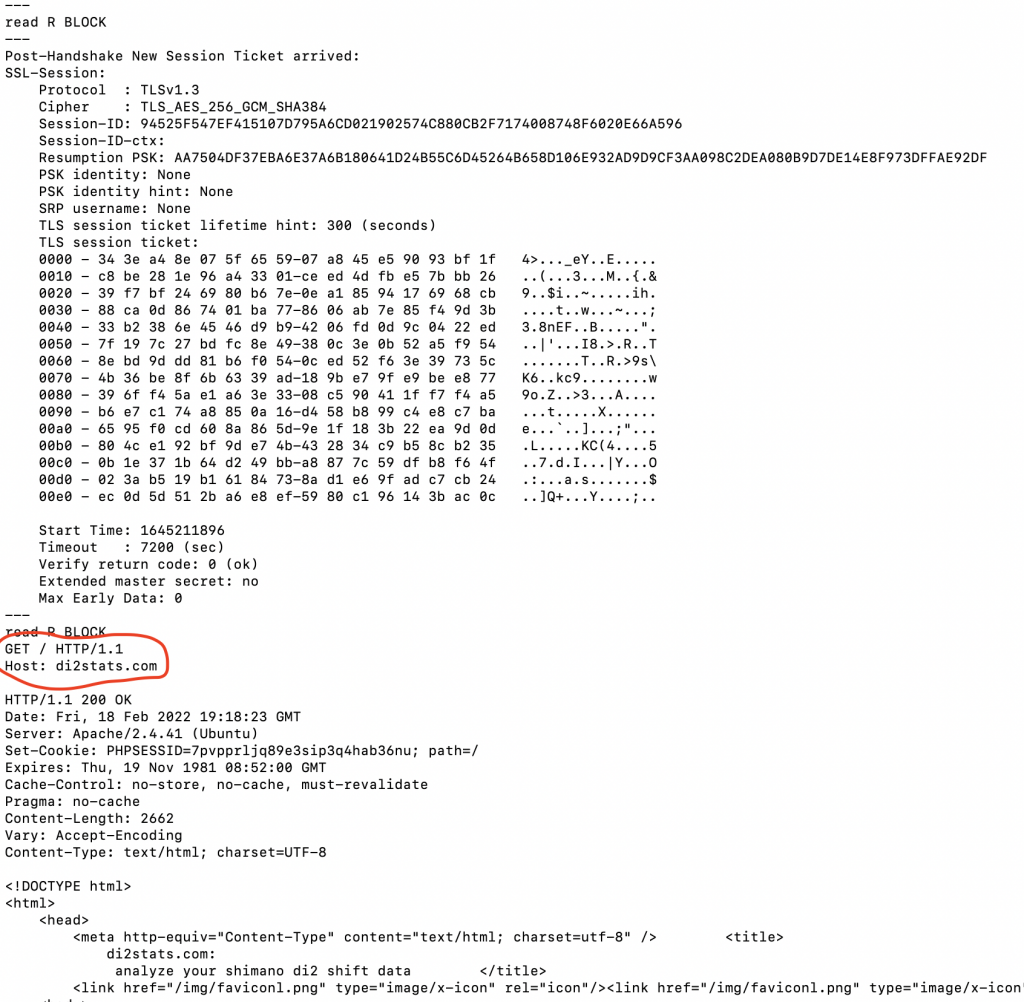
As it turns out (per serverfault and stackexchange), you can use openssl (installed on most Mac / Linux systems) to do the entire key exchange and encryption of the request. The trick is using the correct options with openssl as I document in the screenshot below: openssl s_client -crlf -ign_eof -connect di2stats.com:443
SSH Tunneling
Next topic: SSH tunnels.
There are two ways to set up SSH tunnels: ssh -L and ssh -R
There is lots and lots of documentation with pictures and diagrams, but the easiest way to remember the difference is “local” for “-L” and “remote” for “-R”
If you want to setup a local tunnel on the current computer you are sitting at, then use “-L”. If you want to setup a tunnel back to the computer you are sitting at that you can connect to later, then use “-R”.
Here is an example I used today to access my home mac remotely even though it is behind a firewall. I have the firewall configured to allow SSH connections through on a custom port (omitted) to the SSH server on my web server system running Xubuntu:
ssh -L 127.0.0.1:5901:192.168.1.72:5900 develop@briantoone.com
You need to add the “-p” option along with your custom port number if you are trying to prevent automated ssh scripts from password guessing all the time on port 22. I omitted this because I don’t want to reveal my port number, although a simple nmap will reveal it.
There’s a lot going on with that command. First, let me explain what I’m trying to accomplish. Enabling screen sharing on a Mac starts a built-in VNC server (port 5900). My home firewall doesn’t forward that port. The only ports being forwarded are the SSH server (on a custom port) plus the HTTP port 80 and the HTTPS port 443.
So, to get at that port, I need to TUNNEL through the firewall and then setup the connection from the machine I’m sshing into on the home network (briantoone.com) across to the Mac (192.168.1.72). But I want to be able to connect to that tunnel locally, hence the 127.0.0.1 and the “-L”. In this case, “local” means “local” to the machine that initiated the tunnel (i.e., my work computer).
Also, it’s important to note that if you want to broadcast the tunneled port to your local network then you need to prefix the local network IP address of the machine along with a firewall rule that will allow access to that port on the machine from your local network. See example below:
ssh -p XXXX -L 192.168.1.87:8089:localhost:8088 officeuser@localhost
There’s even more going on with the above command. This one is connected to a REVERSE tunnel that I had already setup on my work machine running on the omitted port. I want to broadcast the tunneled port 8088 from the work machine onto my local network using port 8089 on the server which has the reverse tunnel already setup. So I also had to add a firewall rule on the server 192.168.1.87 to allow the incoming connection from my primary development machine at home.
But when do you use “ssh -R”? This is when you want to setup a REVERSE TUNNEL. In other words, chances are you are wanting to tunnel back to either the computer you are currently sitting at or one nearby on the local network. In other words you want to be able to access this tunnel “remotely” … typically later. The trick is keeping that tunnel open.
Update 4/13 – Once you have opened that remote tunnel, you can almost ironically create a similar remote tunnel to get at a different service on the remote system. This command was helpful for me to connect to mac screen sharing through the remote tunnel:
ssh -L 192.168.1.87:5901:127.0.0.1:5900 officeuser@localhost -p XXXX
192.168.1.87 is the computer that already has the XXXX ssh tunnel setup.
If you use 127.0.0.1, you won't be able to connect to the
tunneled port from any other system on your network (which is what I needed)
Remotely connecting to Mac behind firewall
After setting up the ssh -L tunnel above, all I had to do was start the “screen sharing” app on my work mac. Then I specified 127.0.0.1:5901 to access the tunnel I had setup.
It connected perfectly, but the problem I encountered is that the Mac wasn’t accepting my username and password. After a little bit of digging, I discovered that the Mac expects you to login with your DISPLAY NAME instead of your username. How crazy is that!
I thought the problem was with the screen sharing app, so I installed RealVNC viewer and got the same problem. I fixed the problem and was able to connect through RealVNC but the performance was bad. I uninstalled RealVNC viewer and went back to the built-in screen sharing app and that worked much better – as it was much smoother and more responsive.
Transferring files using ssh tunnel
- Update your ssh tunnel command to include
-L 1234:localhost:1234
as an additional tunnel when first establishing the ssh connection. - In the ssh terminal window, type this command
nc -l -p 1234 > test.py
(or whatever you want the filename to be on the server) - In a different terminal window on your local system, cd into the directory that has your test.py file (or whatever file you want to send) and type this command:
nc -w 3 localhost 1234 < test.py - When the previous step finishes, the file should be on the server with the name you gave it. Switch back to the ssh terminal window and type
python test.py