ATT Fiber has been absolutely fantastic. Zero downtime for the first month and incredibly fast. One of the challenges is ATT is making money off of DNS errors. I don’t have a problem with that at all, but they have locked down their modem/router combo so that you cannot change the DNS server to force you to use their ad-based ones. This, I have a problem with! All they really need to do is let you add local DNS entries directly into the router. But they have not done that.
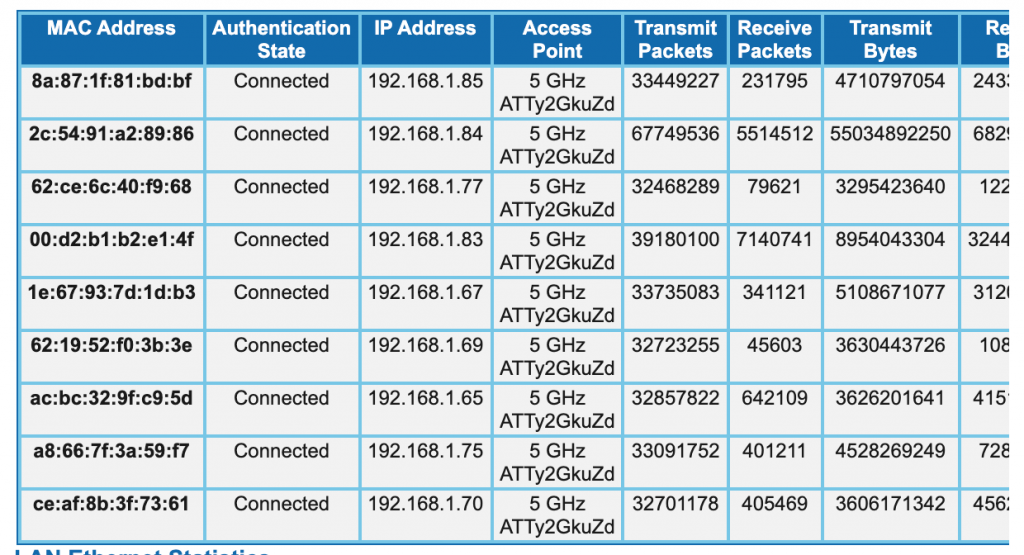
Yes, you can configure their router as a passthrough to a second router which isn’t locked down and allows you to configure the DNS server (or better yet, simply add a few entries to the router itself acting as a passthrough DNS server). The problem with this is that you have to buy new hardware. Plus, you are adding an additional hop to all network requests. Plus, you are introducing a new point of failure (the second router). Plus, we have nine wireless devices already configured (with password entered onto each) to connect to the ATT router. I think these devices would need to be connected to the secondary router instead?

An alternative solution that perfectly fits my needs is the program dnsmasq that you can install on OSX using brew. I could also install this on my home server, but why add the extra load to it, even if minimal. Also, I have already manually edited the /etc/hosts file on my mac with all the domain names that should be mapped to the local ip address instead of resolved using DNS.
This is why I went with dnsmasq – because it automatically reads the /etc/hosts file on the system it is installed on and serves up those ip addresses without any extra configuration at all (!!!) – instead of bind, which is a more traditional dns server and would require all these entries to be duplicated into a separate config file. No thank you.
You don’t even have to follow these instructions fully because, ironically, the mac doesn’t need to use dnsmasq for its DNS since it is already checking /etc/hosts first. You can stop without setting up the resolver as long as you are OK with your mac relying on its /etc/hosts file.
The next trick is getting the required devices (just a few – my phones for app development) to use my mac running dnsmasq as their primary DNS server. Thankfully this is easy on modern iOS systems as documented here.
Update – despite what it says about using “sudo” when starting dnsmasq late in the instructions, that wasn’t enough to have dnsmasq working automatically after a reboot. I had to execute the start command again after installing updates to OSX, but it still wasn’t working. So I also had to uncomment and add “en0” to the interfaces.
sudo brew services start dnsmasq

AFTER ADDING THIS TO YOUR /usr/local/etc/dnsmasq.conf FILE

interface=en0
listen-address=192.168.1.72
I found that on a stack overflow post when searching for dnsmasq stopped working. That makes no sense to me because without that line it is supposed to listen on all interfaces. In any case after starting again, the DNS server was still working.
Eventually after an update to OSX, it stopped working again – but I solved that by uncommenting and filling in the listen-address field to the NAT address for the mac. All good again!
Hoping this will make everything work auto-magically next time I have to reboot. No need to test, though, because I can go weeks without rebooting sometimes.