It’s Saturday morning, and I am in the process of upgrading an old computer I have to help support the development of topocreator.com. This website has inspired me for a number of research projects along the way to becoming (hopefully) a successful e-commerce website. The backend program I am using to create maps is quite CPU intensive (0% hard drive activity after initial data load, 100% cpu usage for minutes to hours depending on the size of the map).
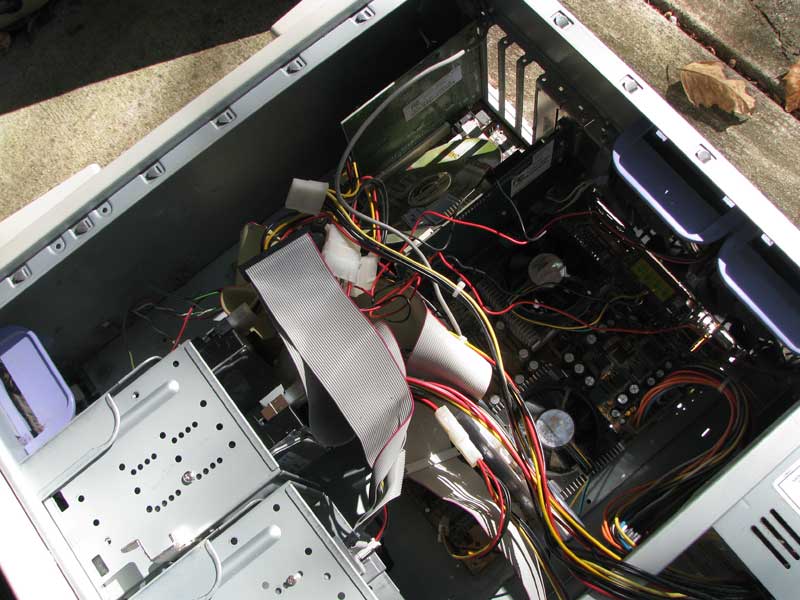
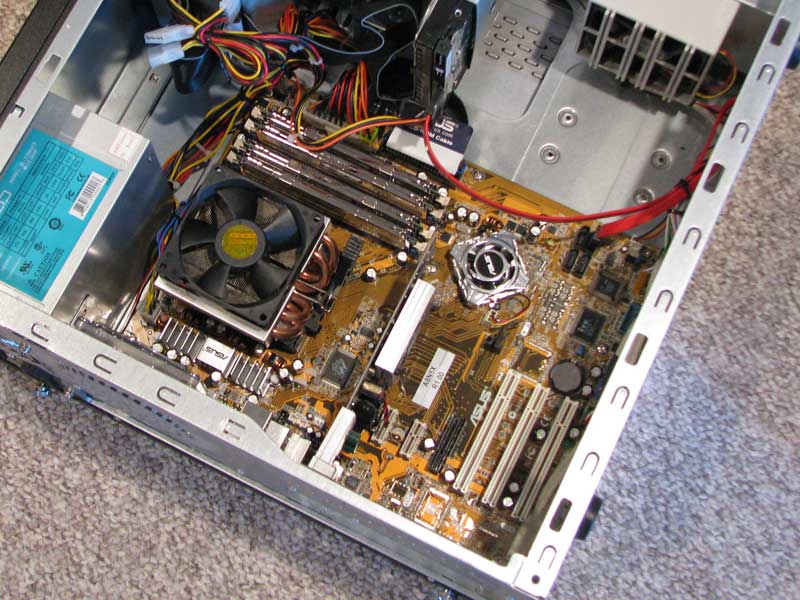
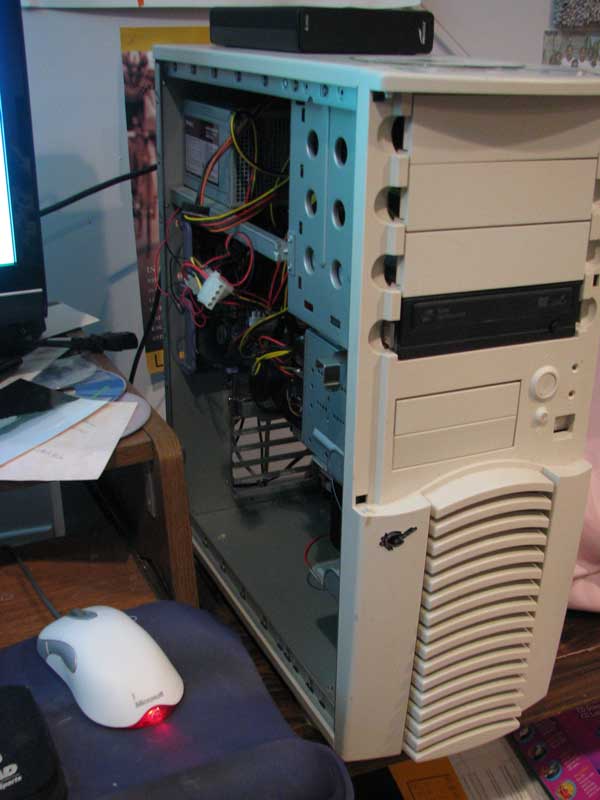
The computer I am upgrading is about 7 years old and is one that I built while a grad student at UC Davis. The specs for it are: Dual Pentium III 1 GHz processors with 512MB of RAM (the maximum allowed by the motherboard). The only components that will remain after the upgrade will be the case, an old graphics card, and a cd-writer. All other components will be replaced. The upgraded system will have the following components:
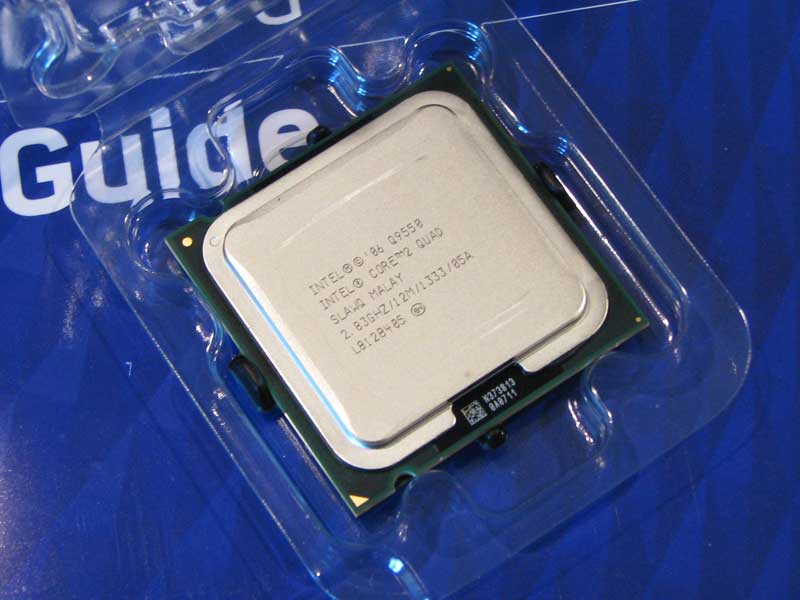
- Intel Core 2 Quad 9550 processor, 2.83GHz, 12 MB cache
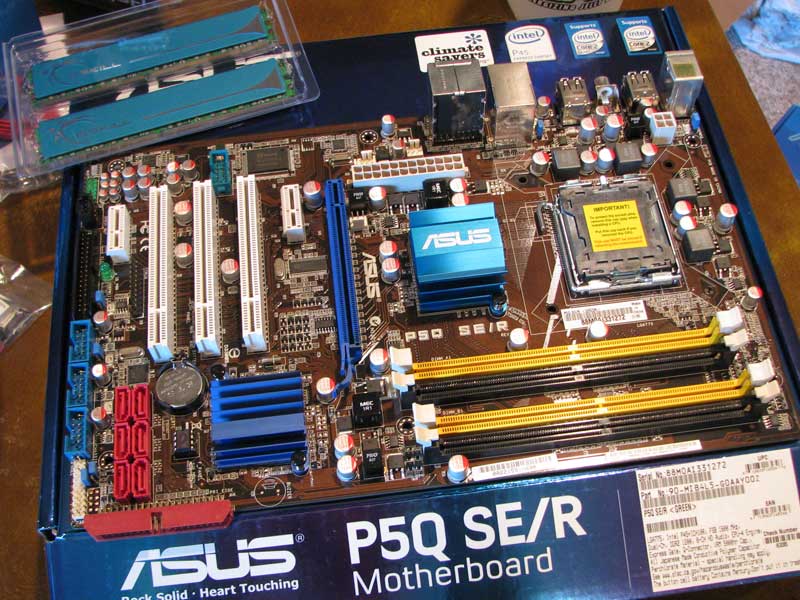
- ASUS P5Q SE/R Motherboard (Intel P45 chipset with ICH10R Southbridge providing RAID)
- 8GB G.SKill P8500 DDR2 RAM operating at 1066MHz
- (2) 500GB Seagate Barracuda 7200RPM, 32MB cache hard drives operating in RAID 0
- 500W Energy efficient Antec earthwatts power supply
- A very old cd-writer that still works (hopefully)
- A new lightscribe DVD writer, CD writer combo drive
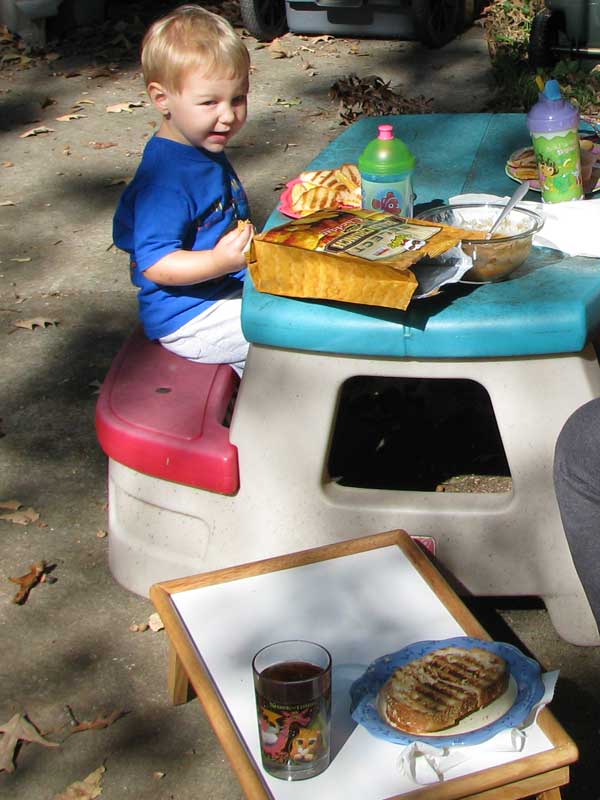
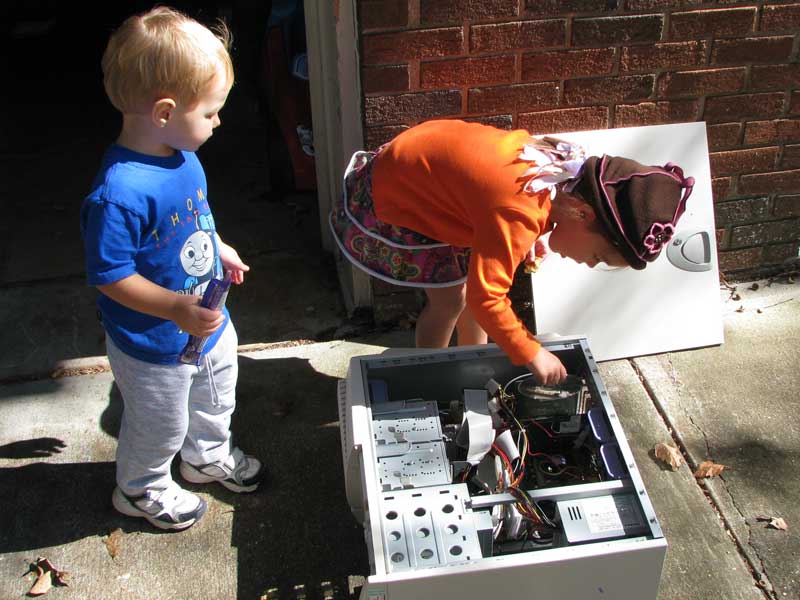
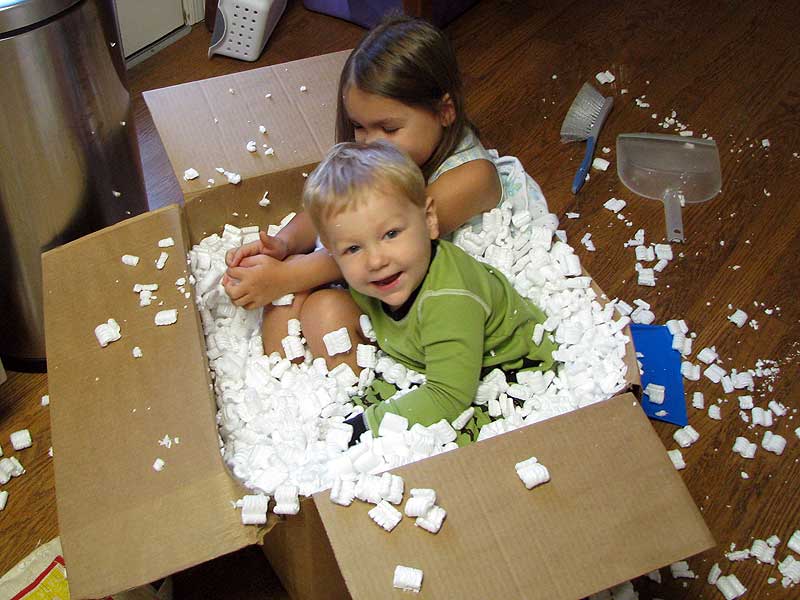 1 – Analise and Josiah help unpack the box from newegg.com 1 – Analise and Josiah help unpack the box from newegg.com |
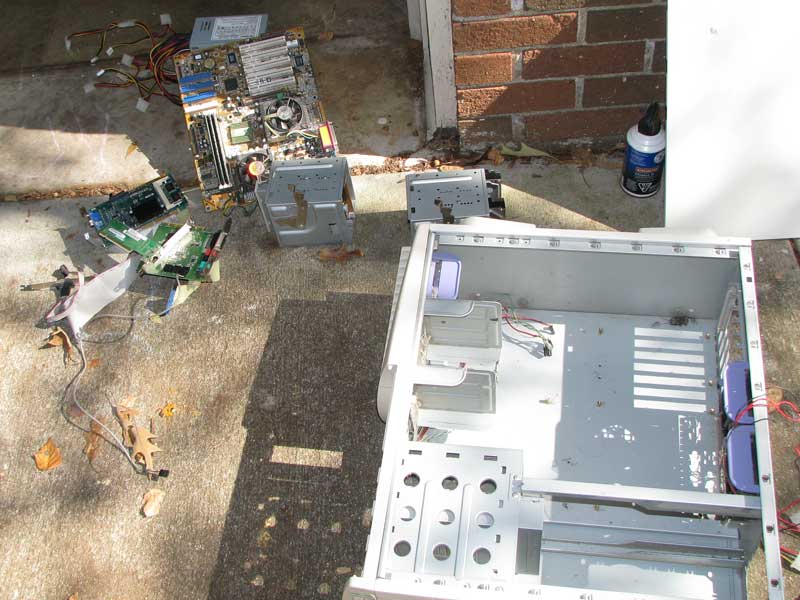
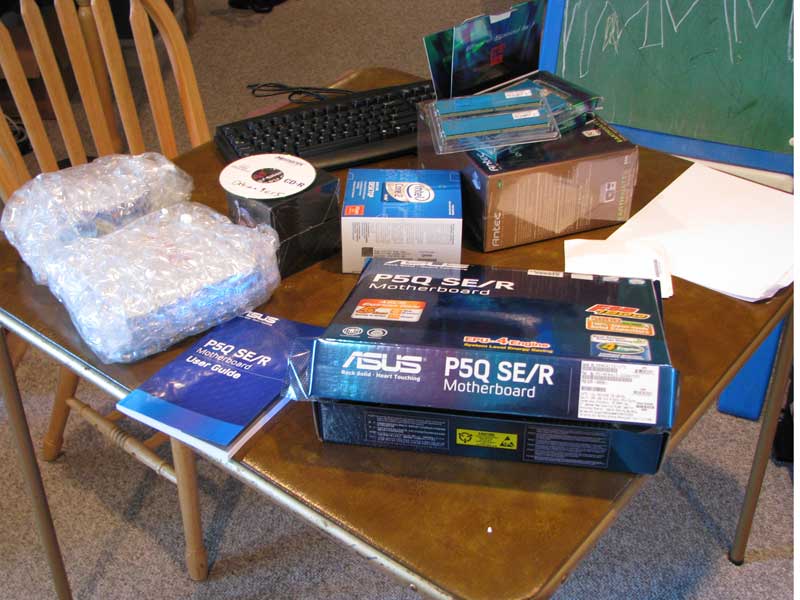 2 – All the new components are laid out on the table 2 – All the new components are laid out on the table |
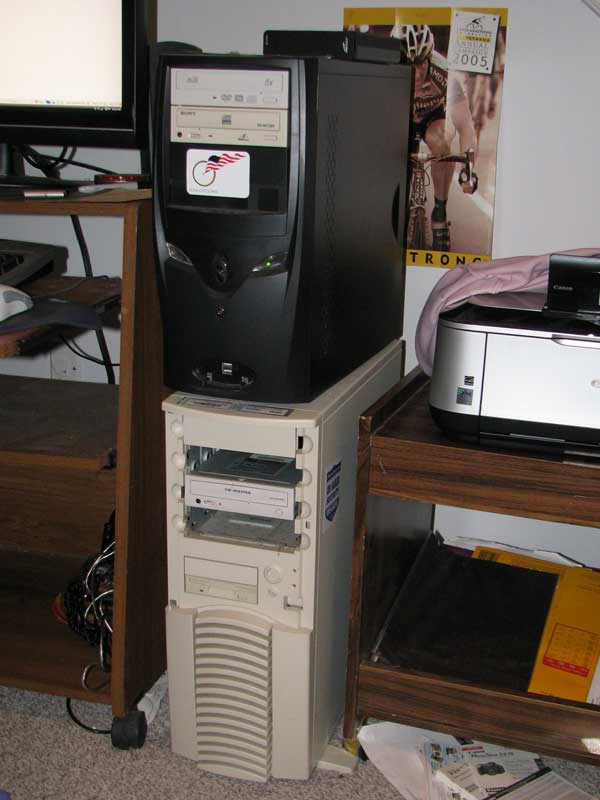 3 – The current setup showing the computer to be replaced on the bottom 3 – The current setup showing the computer to be replaced on the bottom |
11:15AM So that brings us to where we are now. I am making a rough outline of the next steps to tackle as detailed below:
- Run PC Mark Vantage on the top computer (my current development machine) to have a quantifiable benchmark to compare against the new machine. The top computer is an AMD Athlon X2 4400 (two cores running at 2.2GHz each) with 4GB of memory running 64bit Vista.
- Boot up the old computer and verify that important data has been backed up to the external hard drive (shown on top of the top computer).
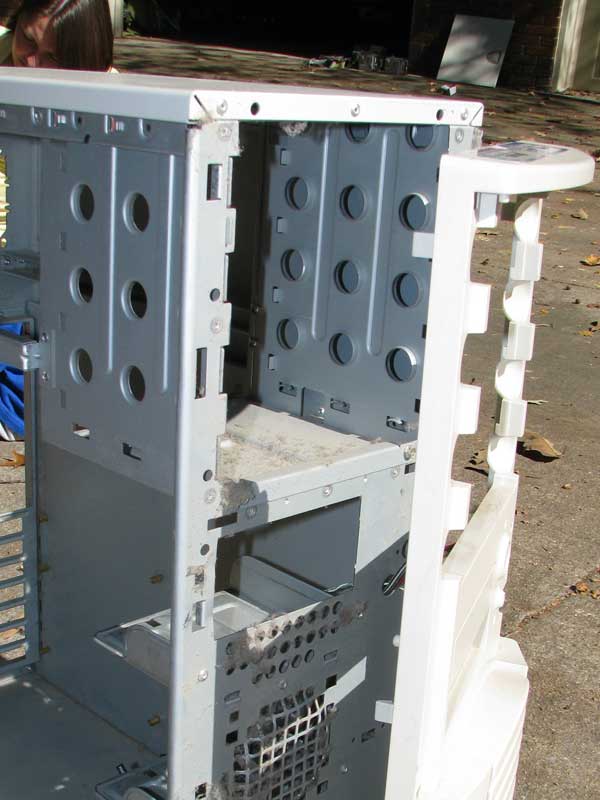
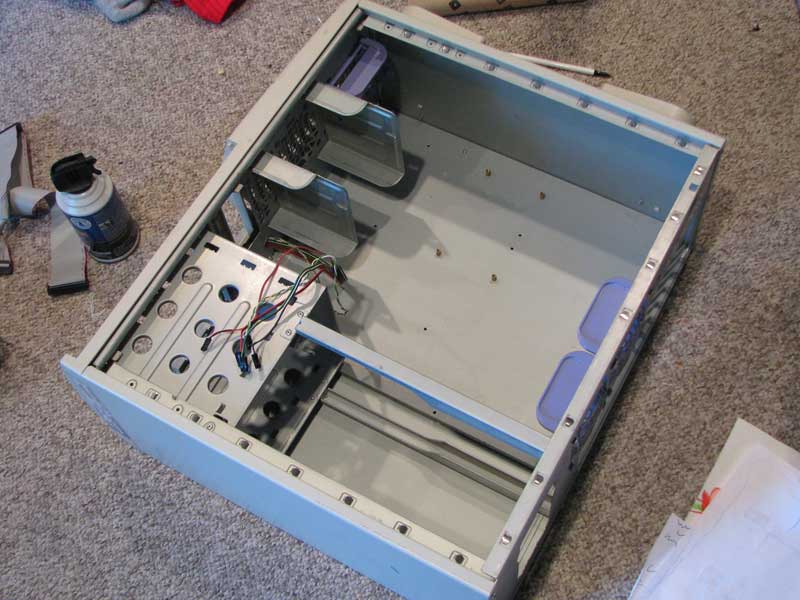
- Remove all components from the bottom computer. Thoroughly dust the case and prepare it for the new components.
- Install the new power supply
- Install the new CPU onto the new motherboard.
- Install the G.Skill memory onto the new motherboard.
- Install the new motherboard into the case
- Install the new lightscribe DVD writer
- Re-install the old CD-writer
- Install the temporary hard drive (an old 8.4 gb drive) while waiting for the new ones to arrive
- Install a 64bit version of Debian to test the operation and stability of the new components
11:55AM I just finished benchmarking my current development system and checking that the important data on the 8.4gb hard drive has been saved. The screenshot below shows the comparison of my system to the fastest system tested using the benchmark out of 92,836 total systems tested:
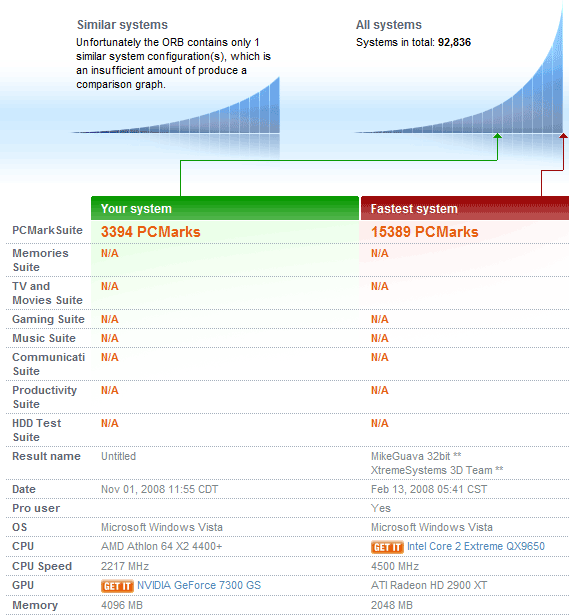
4 – PC Mark Vantage results on my current development computer. This will be useful for comparison with the new computer.
12:15PM Time to move on to the next step — removing all the old components and cleaning out the case to make it ready for the new components. It is also time for lunch!
1:00PM Let the dusting begin! Once I have removed all the components, I can freely dust the computer with a can of compressed air, a handheld dustbuster, and my t-shirt if necessary.
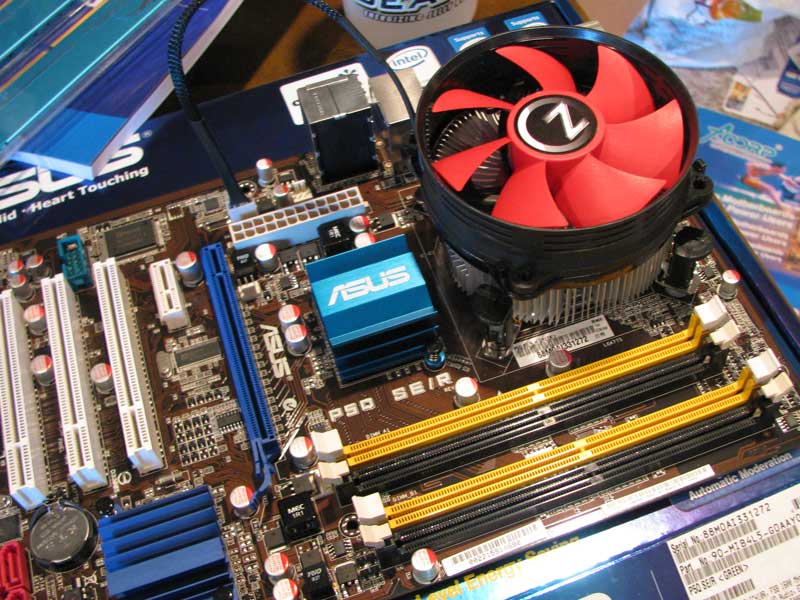
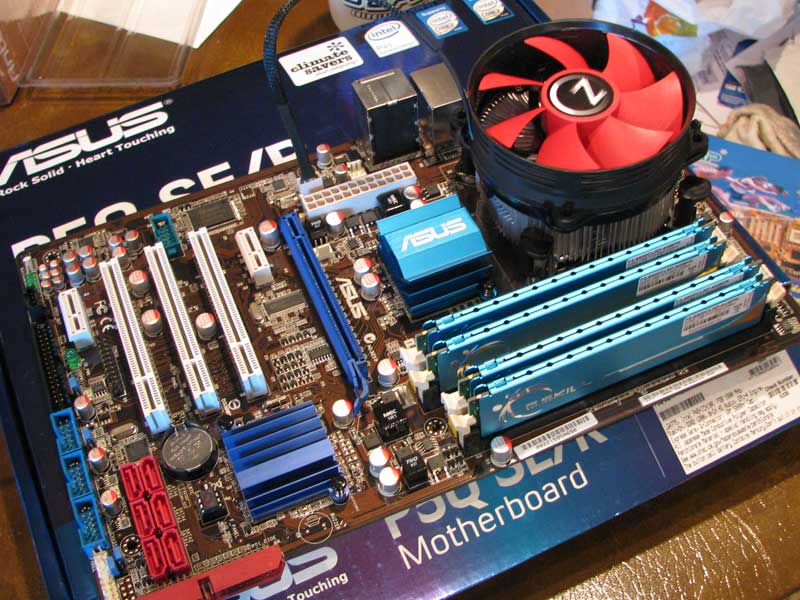
2:15PM With everything back inside and the kids settled down for a nap, it is time to get to the most crucial and delicate part of the operation done — installing the CPU, heat-sink, and memory onto the motherboard. Here is a sequence of pictures detailing the process:
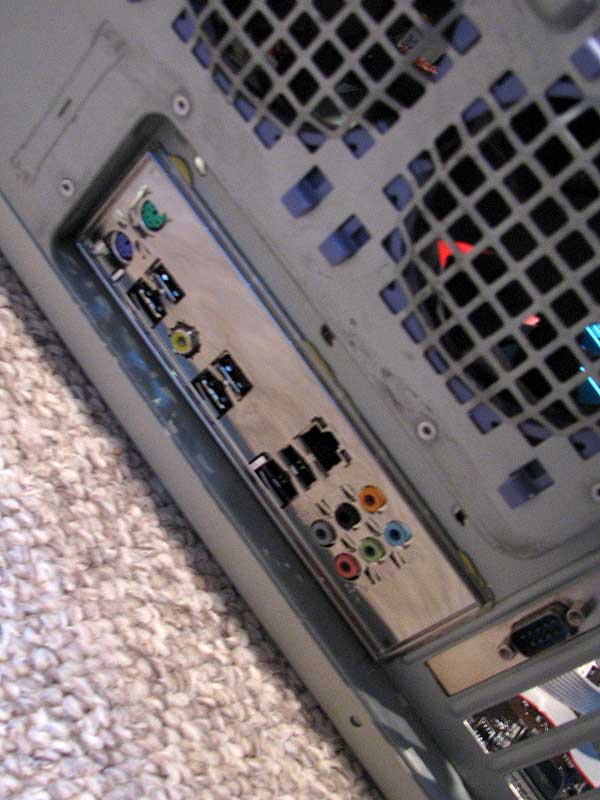
2:45PM With all components in place, I can begin on the installation of the case components (power supply, fans, etc…) and then the motherboard into the case. This is where I encounter the first minor hiccup of the day. I have already installed and screwed down the motherboard when I realize that I need to have the motherboard faceplate already in place as it won’t squeeze between the motherboard and faceplate window. My solution to the problem is to use poster puddy to afix the face place tightly on the outside of the case. The next major hiccup is the realization that my old AGP graphics card will not work with my new PCI-express motherboard. The pictures detailing these hiccups are below:
|
15 – Faceplate problem – note the poster puddy at the edges of the faceplate keeping it in place! |
16 – Graphics card problem – the graphics card on my old computer is an AGP card. My new motherboard, on the other hand, only works with PCI-express cards. So this picture shows my current development machine about to cough up its PCI-express card temporarily. Then when I went to boot the new computer, nothing was on the screen so I thought there was an incompatibility between the card and the motherboard. I tried lots of things and was about to give up when I realized it wasn’t a graphics problem at all. I had forgotten to plug the power cable from the power supply to the power socket next to the CPU. Once I did that everything booted up fine. |
6:00PM After a break for dinner and a family walk around the neighborhood watching the sunset and beautiful fall colors of the trees, I was finally ready to install an operating system. I knew that whatever installation I was going to do would be temporary since my real hard drives hadn’t come in yet so I thought I would do a net install of Debian linux. Unfortunately after two failed attempts, two wasted cdroms, and a little bit of frustration I decided to go with a temporary Vista installation since that is the OS I will be running anyway. The installation was extraordinarily slow because of a scratched DVD and slow hard drive. Later after installing all the drivers and updates for vista, my PC mark scores were considerably higher for CPU-intensive tasks, but slower for any tasks that stressed the hard drive.
9:13 PM – I am finally up and running! The upgrade all-in-all went smoothly with only a couple hiccups. I took pictures throughout the upgrade and I will add them in a “pseudo-live” format based on the timestamps of the pictures. Unfortunately I had to “borrow” the graphics card from my development computer because the graphics card on the old computer I was upgrading was an AGP graphics card. Alas, my new motherboard has only PCI and PCI-express slots 🙁 so I had no computer at all to do my live updates. One of the most time-consuming parts of the entire process was trying to get all the dust out of the old computer. I also found a dead cockroach, an acorn, a CD, and a casette tape all INSIDE the computer. Hilarious as the computer was still running and working fine with all the “extras” inside it. Here are the results of the PC Mark Vantage test. As mentioned before, the performance was definitely better, and I know that the new hard drives and faster graphics card coming in this week will up the performance significantly.



1 comment